
First off let me tell you that this project is super simple. I've used the Medium Precut Chipboard from Kraft Outlet for the base of my storage book. There are 25 sheets in the pack and they are already the perfect size so NO cutting necessary. YAY! I'm kind of a stickler about stability, so I went ahead and glued two sheets together for an extra sturdy base.
Here are the supplies you'll need:

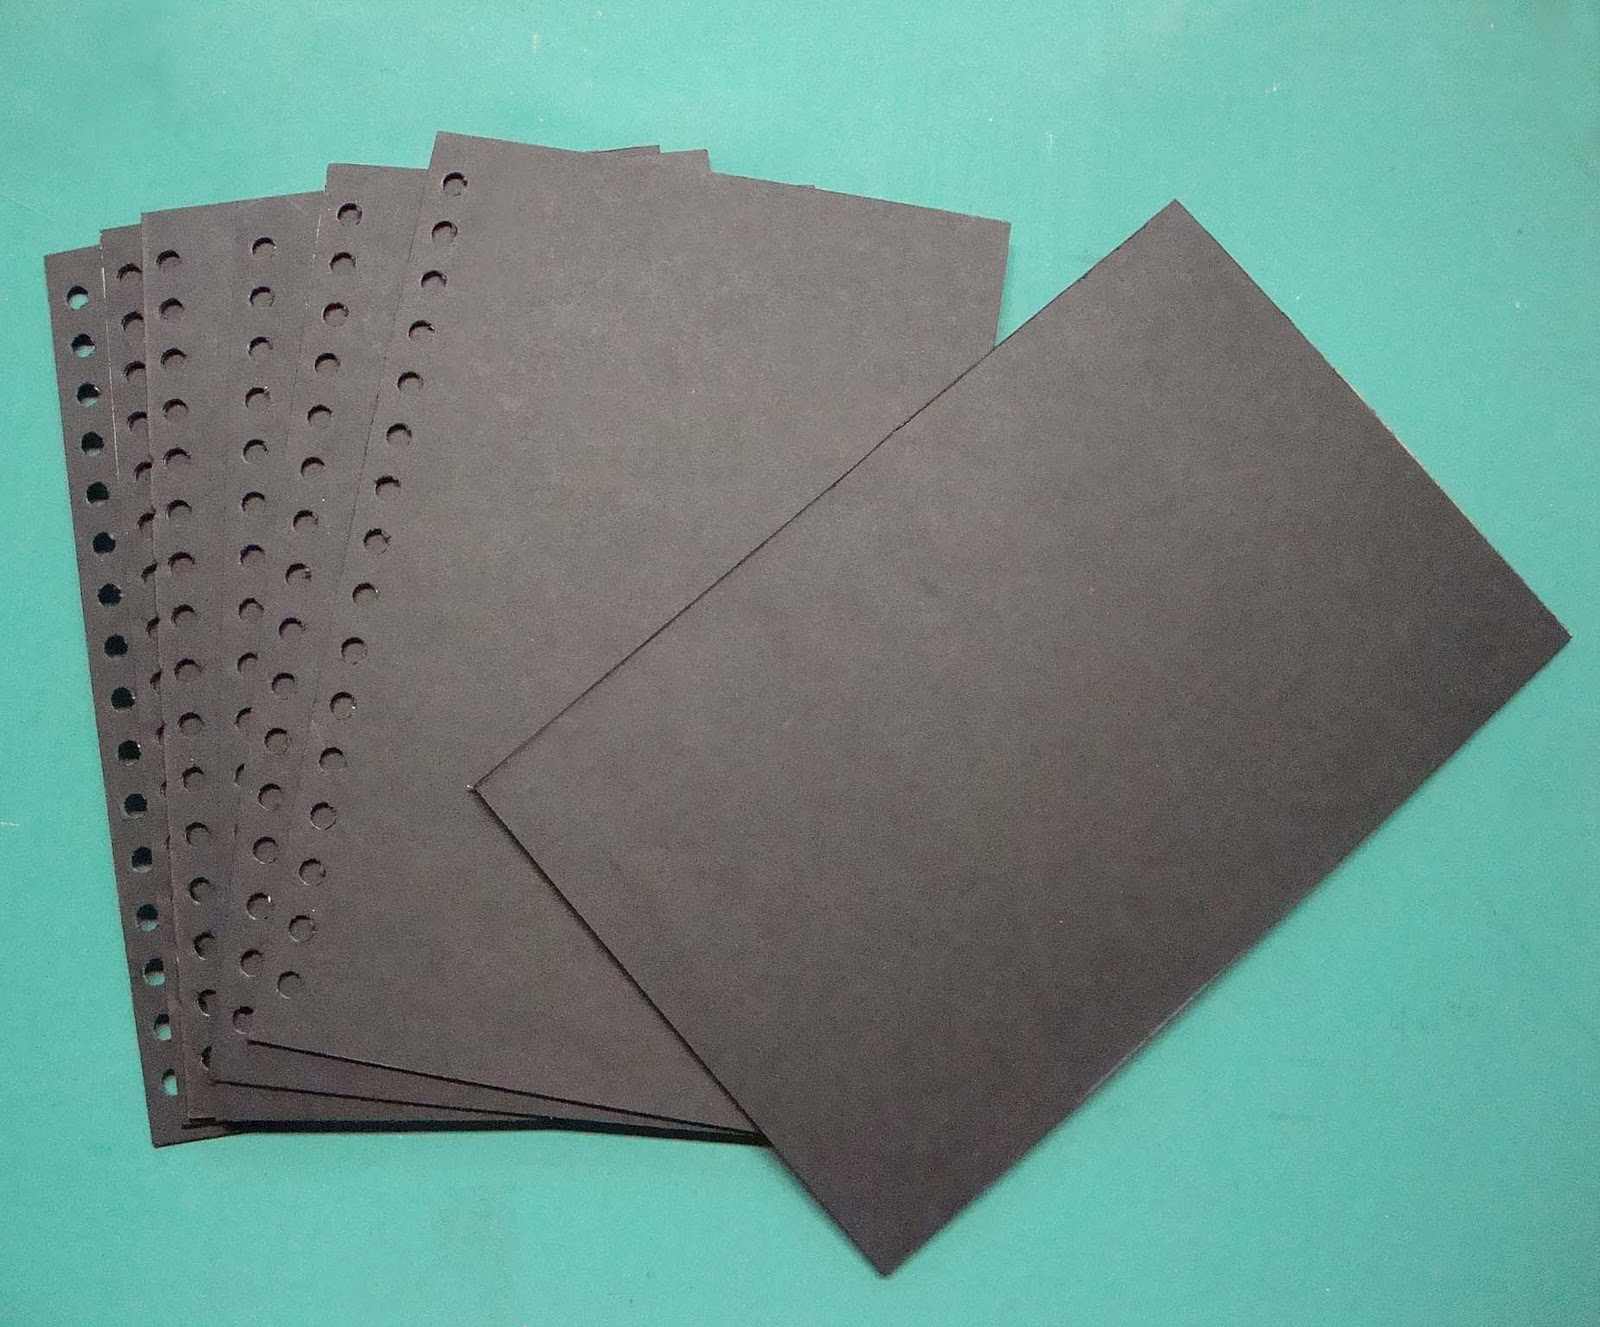
The chipboard sheets, adhesive, and some black cardstock. You could use another color or pattern if you wanted. You'll see why I used black later.
I used the Scotch glue to put my chipboard pieces together. Use your adhesive of choice, but make sure it's strong. This book will be heavy. Cut a regular sheet of 8 1/2" x 11" black cardstock in half and adhere one half to each side of the chipboard. Pretty simple huh!

I didn't go too crazy with embellishments on the front because of the heaviness of the book already and storage wise I didn't want a lot of bulk to have to deal with. You can make yours as plain or fancy as you want.
Here are a few picks of the finished book.


Okay, confession time. This was my very first time using my Cinch and you know there are always going to be glitches the first time you play with a new toy. The binding wire I used for the book was a 1' size. They only go up to 1 1/4" and I'm not sure that little bit extra would really help in this situation. I only put seven pages in the book, but with the dies in there it makes it about 2 1/2" thick so I'll probably go back and split the book into two separate ones. The weight of those dies adds up too, so the book won't be as heavy if I split it. Ahhh the fun of trial and error. LOL
Hope you decide to play along with our "Spring Fling" challenge this week. Break out that kraft paper or some products from Kraft Outlet and play along. I've added a button on my sidebar for Kraft Outlet. You can just click on it and it will take you directly to the store with a lot of the crafting goodies I've used for this project and more.
Have a great week!

Supplies
Papers+: Kraft Outlet Medium Precut Chipboard, Brown Kraft Cover Weight cardstock, Lunchbag Kraft cardstock, and Buff Ivory Cover Weight cardstock; K and Company , Bazzill, Recollections
Tools: Nestabilities Fancy Tags (S4-235), Cinch binding machine, Making Memories Instant Setter, EK Success corner rounder
Miscellaneous: Kraft Outlet Brown Kraft Labels, Recollections flowers, Offray ribbon, Recollections eyelets, magnetic tape
11 comments:
This is so great Tracy! I love the way you decorated the front cover! I don't have any Spellbinders...YET! I think I have to start collecting them now so I can make a book like this! lol Thanks so much! :o)
Yay! You finished it...it turned out so, so, pretty Tracy! I love the front cover. It's funny, I was at Hobby Lobby Monday picking up the magnetic strips, I picked up both sizes, but now that I see the thicker one will work, that is what I will be using, yesterday I ordered the black chipboard....hehehehe! Loved the way yours turned out!
Fantastic idea and a great tutorial Tracy!! You book is beautiful, hard to believe it's storage!
Thank you so much for these ideas. I don't have very many yet ( heavy emphasis on the "yet"!) but I've been wondering how I was going to store them. Love the lacing on your cover.
This is by far the best way to stash your Spellbinders Tracy! Love your book to pieces! It's super gorgeous with the lacing, just brilliant!!
very cool! love the cover too!
Fab idea. Love it. :)
Wonderful storage idea. Just in time too since getting my spellbinders organized is on my list of things to do.
Thanks
Julie
This is such a fabulous idea, Tracy! Love, love, love that you created your own storage solution. So crafty and so beautiful at the same time. I think the magnetic tape is just genius.
TFS!
Wonderful design and great way to store the dies!
This is fabulous! It's a great idea, and the cover is gorgeous!
Post a Comment