
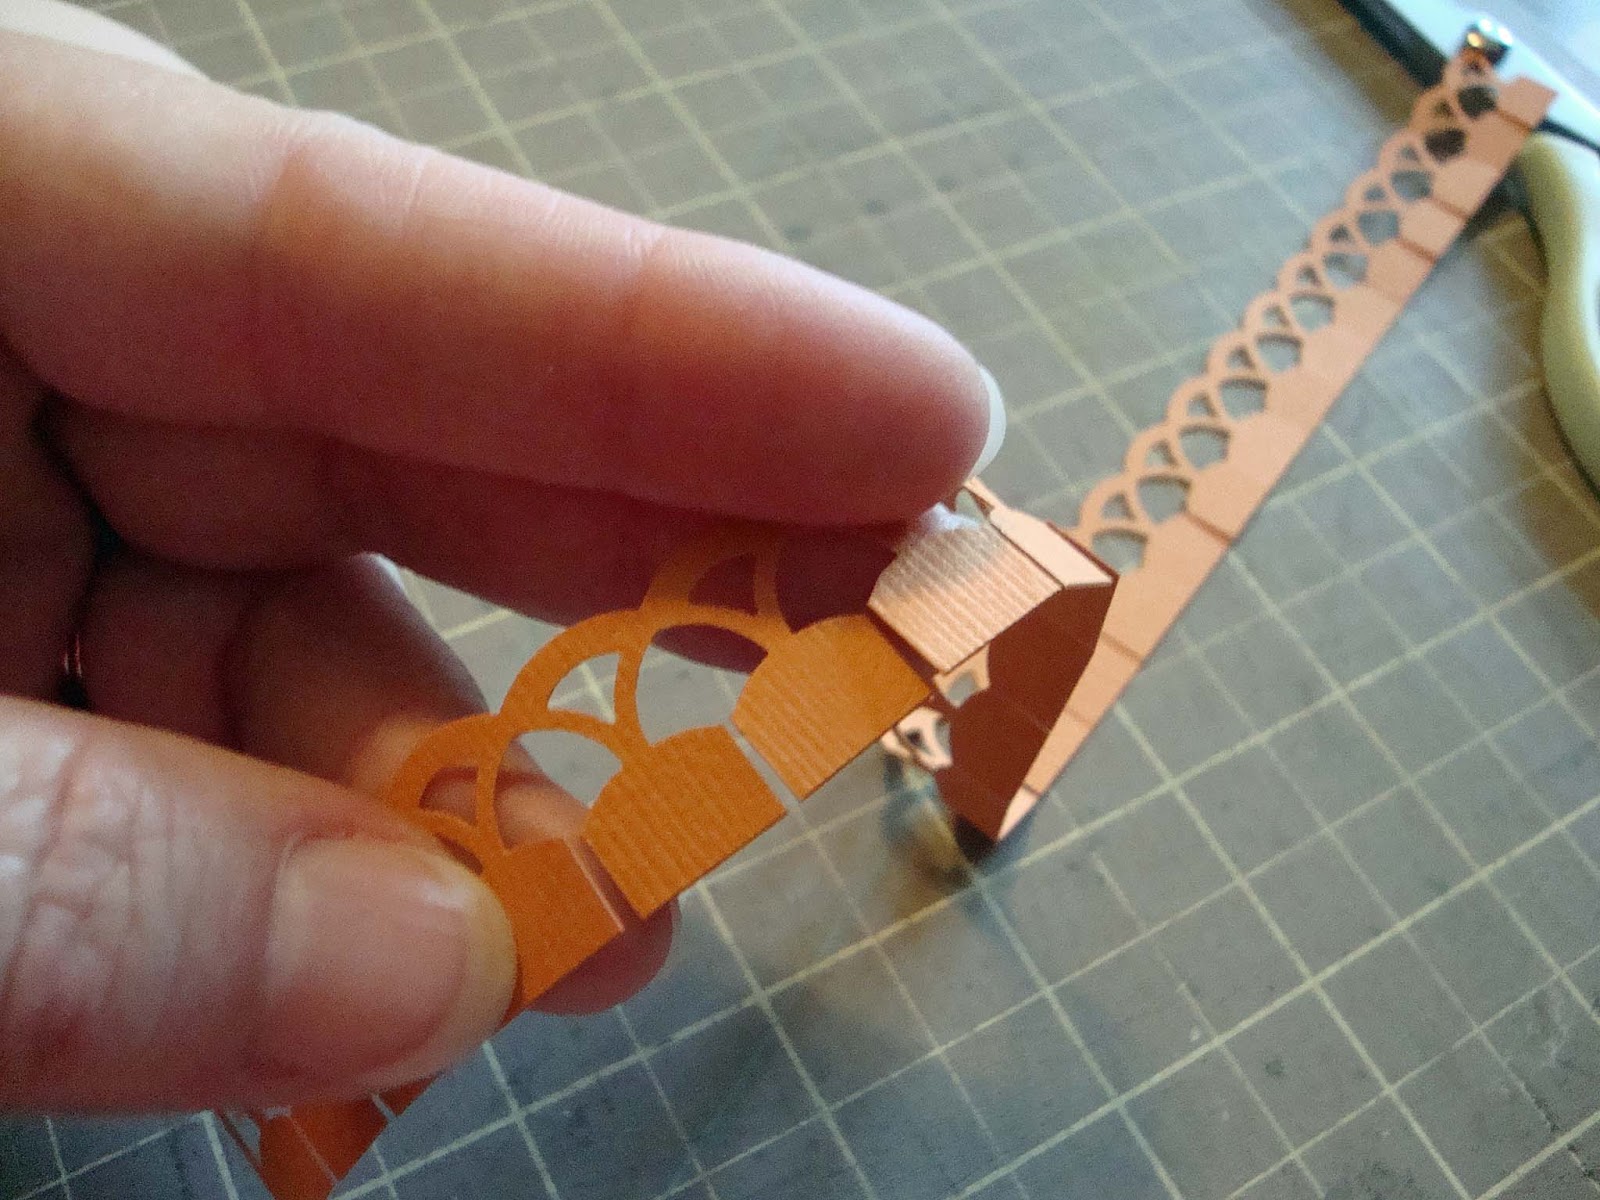
I have a tutorial for you today from The Kraft Journal. You may already know how to do this handy little trick but I thought I'd share just in case. I'm going to show you how to make a decorative border for a circle or oval using Martha Stewart straight edge border dies.
In the first photo you can see my uncolored images, a orange circle border (which I later changed to green) and a 6" circle of chipboard covered with Brown Kraft Cover Weight cardstock. You can also see my decorative border strip cut from a piece of 12" x 12" Bazzill.


24 comments:
Wow! I would never have thought of this... TFS! Love your sweet little halloween ornament
Wow! I would never have thought of this... TFS! Love your sweet little halloween ornament
This is just gorgeous,love the image and design.xxx
Thank you Tracy, a really useful idea.
Hugs Sue
woah this looks amazing!!! how effective is that border! love the whole design really...it all just fits together so perfectly :)
This is fabulous. Thankyou. Caroline xxx
Gorgeous tag . Thanks for the tip on using the edge punch .
Fabulous tutorial...and here I thought I had to have just the right size die!
Well, now...that's just brilliant! Thank you so much for sharing this! I'll have to go through my punches and see what will work! Love it! :o)
Great idea Tracy, thanks for sharing this with us. Have to try it soon.
Luv, Babs
Looking at your commentors...glad to know I wasn't the only one who didn't know how to do this. LOL. This is fabulous. Thanks so much for sharing.
Very nice. Looking good.
Be blessed, Beckie
Stampin' Up Ind Demo
http://justbcreativecrazy.blogspot.com
Aren't you just so smart Tracy! My brain never would have come up with this...thank goodness for buddies like you! Off to try it out.
Hugs, Renee
Great use of that punch Tracy, looks supercool! Hugs, Ira
irascreacorner.blogspot.nl
great tutorial Tracy will have to give it a go as the edge looks really great
hugs
Hey Tracy! My gosh...where did the week go?! Here it is, time for another challenge at Mo's and I'm just getting around to commenting! Aacck! Your wall hanger is absolutely precious! I just love this Mo image...and your coloring is gorgeous, as always!! And thenks for the cool tutorial...I will definitely give this a try! Hugs. Pat Frank
Looking great Tracy! Thanks for the great tutorial :) hugs Anneke
Thanks for the tutorial Tracy. I've always wondered how this was achieved! A beautiful hanging! Hugs, Lesley
What a nice tip...Thanks, Trace!!
This is genius! Such a creative way to stretch your usage out of your tools. Now I really want to get some fancy border punches! Thanks for sharing this awesome tip!
Wow, beautiful card and wonderful tutorial Tracy. It's our lucky day!!! I did not know this info but will put it to good use very soon. Thanks for taking the time to share with us. :) Your coloring is amazing, as always!
Well, how cool is that! Thanks for the tutorial. This really stretches my border stamps (no pun intended) and gives me so many more ways to use them. Thanks, Tracy. Love the wall hanging...it makes me smile!
This is so handy and a very neat tip and trick I might add! You are so talented! Never stop sharing because there is always someone who has never come across something! Like ME! :-))))
Thanks for the great tut, GF! A picture is always worth a thousand words!!!
Huggies ~
Sharron♥
Genius, brilliant, economical, and fantastic looking! Tutorials like these are highly appreciated as I am always looking for ways to get more bang for my buck. How you turned straight into curved is terrific TRACY (lol)..Any more ideas like this that you wish to publish are MORE than welcome. I'd also really love to know the colors you used for the pumpkins. Such a classy touch and a beautiful Autumn card. :)
Phew, okay, now I think I'm caught up too.
Twang
Post a Comment