Showing posts with label Sassy Cheryl's. Show all posts

Monday, June 25, 2012

You can never have too many friends

(There's still a little over a week left for you to join in my birthday candy.  
Just click on the pic in the sidebar for all the details)


     I sure hope all these bright colors make you smile today.  Our challenge this go around at the Catered Crop is "rainbows or the colors of a rainbow" and our sponsor is Sassy Cheryl's.  She's offering a $15.00 gift certificate to the winner of our challenge.  Trust me, you won't have a hard time spending it.  :-)  I just love her cute little characters.  This is Callie with her ladybug friends.
     For may card I used a base of my favorite Kraft Outlet Light kraft cardstock and dug through my scrap box to find all the rainbow colors.  I layered them all behind Callie and tied them off with some twill tape.  A bit of doodling, some buttons, and a sentiment finish the card off.  Callie's Ladybugs are covered in Glossy Accents and she got some sparkle added to her skirt and white gel pen dots to her shirt.
     You have until July 7th at 8:00 p.m. EST to get your rainbow projects linked up.  Make sure you check in to the Catered Crop this Sunday to see this card and what the other chefs have cooked up to inspire you.
     I'd like to enter my card into the following challenges:

Corrosive--summertime girls
Joanna Sheen--summer daze
Totally Gorjuss--somehting yellow
Polka Doodles--trooping the coulour
Crafty Sentiments--bright colours
Die Cuttin' Divas--summer colors

     Happy Monday!

Supplies

  • Paper:  Kraft Outlet Light Kraft, Bazzill, Copic XPress-it Blending card
  • Stamp:  Sassy Cheryl's "Callie and her ladybug friends", sentiment from Create with TLC
  • Ink:  Copics, Marvy Uchida white gel pen, Micron pen
  • Tools:  Memory Box Scallop die
  • Miscellaneous:  buttons from my stash, Kraft outlet Hang Tag String and Twill Tape, Glossy Accents, Diamond Stickles

Sunday, May 27, 2012

Sugar and spice

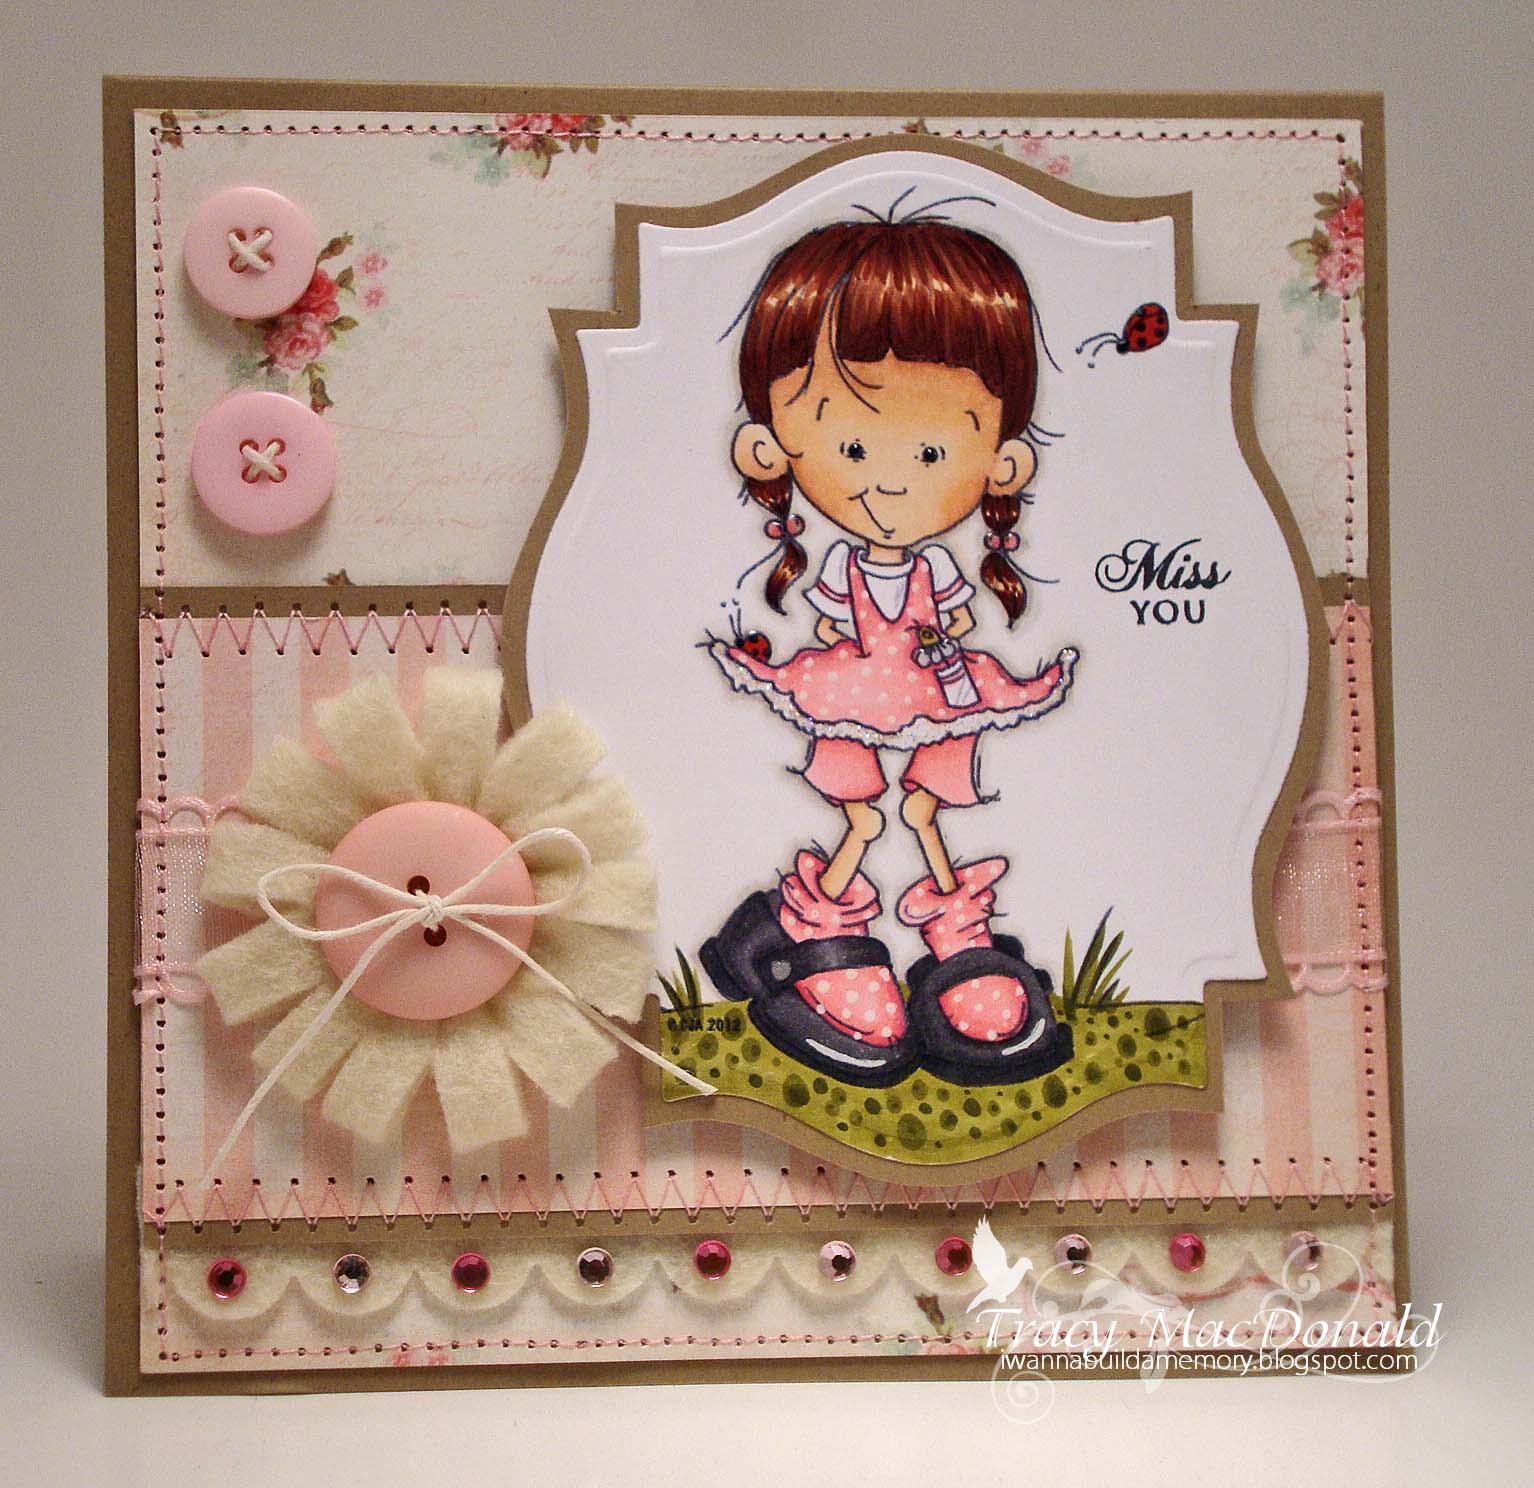
     She looks like an advertisement for the "sugar and spice and everything nice" rhyme, doesn't she.  :-)  Her name is "Precious Callie" and she's one of Cheryl Alger's Sassy Cheryl's images.  I've colored her with Copics and popped her on this lovely mix of My Mind's Eye papers.  This is a special card because it marks my first DT project for the Catered Crop.  The lovely Linda McClain offered me a Top Chef position on her team and I just couldn't pass it up.
     Today is the start of a brand new challenge at the Catered Crop and the recipe element we want to see on your projects is felt.  For my card, I cut a scalloped border from felt and added some bling to it.  I also created that fun felt loopy flower.  Here's the tute I used.  They're easy peasy.  We'd love to have you come play along.  The challenge runs for two weeks and if you'll pop into the blog next Sunday, you'll see this card along with the inspiration from my fellow DT girls, Dorcas, Silke Ledlow, and Jeanie Witmer.
     I'd like to enter this card into the following challenges:

The Hybrid Chick Card Caravan--use pink
The Ribbon Girl--photo inspiration/pink and cream
CMC Copic Challenge--pink and green
Di's Digi Designs--bling
Totally Gorjuss--something new (never used before digi stamp)
Delicious Doodles--diamonds are forever
Aud Sentiments--any sentiment
Paper Shelter--bling it on
Bearly Mine--anything goes
Craft Room Challenge--add fabric
Sassy Cheryl's--favorite color combination
Creative Monday--stitching/real or faux
The Pink Elephant--buttons galore

     Hope you have a blessed day!


Supplies

  • Paper:  My Mind's Eye "Lost and Found--Market Street", Kraft Outlet Brown Kraft Cover Weight cardstock, Copic XPress-it Blending card
  • Stamp:  Sassy Cheryl's "Precious Callie", Papertrey Ink "Mixed Messages"
  • Ink: Copics, Mary Uchida white gel pen
  • Tools:  Nestabilities Labels Eighteen, Memory Box Classic Scallop edge die, sewing machine
  • Miscellaneous:  felt, The Paper Studio and Basic Grey buttons, Kraft Outlet Hang Tag String, Glossy Accents, Stardust Stickles, Michael's gemstones

Monday, April 16, 2012

A beary happy birthday


     Our challenge this week at The Kraft Journal is to "Use Your Stash".  My stash is ridiculous if truth be told.  I don't even know half of what I have and the sad thing is I keep buying more.  LOL  Mostly paper and dies but they still add to the pile.  :-)
     So for this card I dug into my stash of Kraft Outlet supplies and came up with this tag pocket card.  This may look like a simple card, but I'm telling you it was a major ordeal.  Not because its hard, but because it took me forever to decide what I was going to make!  :-)  It's a simple criss cross card fold with a tag insert and I've used some cute birthday bears from Sassy Cheryl's.
  Here are the card deets.  I started with a base of Light Kraft Cover Weight cardstock and matted it with Bazzill and My Mind's Eye DP.  I did some machine stitching and added a couple of punched borders from Buff Ivory Cover Weight cardstock and that's pretty much the main part of the card.  The balloons are three White Round Metal Edge tags that I colored with Copics.  I added some little punched and Stickled stars and a wee bit of white gel pen and then I tied all the tag strings together with some Red Baker's Twine.  The sentiment was printed on the Light Kraft and I added some buttons tied with Hang Tag String to the ends.
     You can see the insert in the following picture.  It's really plain and simple, just layers papers and the top edge is punched.
     Hope you'll join us for this week's challenge.  Each time you play you get a chance at winning this months $15.00 voucher from Kraft Outlet and a shot at Top Three or Feature Me Friday.  So grab that kraft paper or Kraft Outlet supplies and come play along.
     I'd like to enter this card into the following challenges:

Digi Makeover--pocket card
Incy Wincy--digis only
Ooh La La--bold and bright
Pollycraft Monday--cute critters
One Stop Craft--three circles
Crafty Catz--animals
Stampin' for the Weekend--ready TEDDY go
Paper Crafting Journey--three or more patterned papers
The Play Date Cafe--color palette


My Mum's Craft Shop--celebration
Digital Tuesdays--birthdays

     Happy Monday!


Kraft Outlet Supplies


Light Kraft Cover Weight cardstock
Buff Ivory Cover Weight cardstock
White Round Metal Edge Tags
Red Baker's Twine
Hang Tag String


Other Supplies


Paper:  My Mind's Eye "Quite Contrary--Jack and Jill", Bazzill, Copic XPress-it Blending card
Stamp:  Sassy Cheryl's "Birthday Bears"
Ink:  Copics, Prismacolor pencils and OMS, Marvy Uchida white gel pen
Tools:  Nestabilities Classic Ovals, and Labels Eighteen, EK Success Dotted Scallop edge punch, Martha Stewart star hole punch, sewing machine
Miscellaneous:  Diamond Stickles, buttons from my stash

Friday, February 3, 2012

Birthday flower frenzy

(Third post for today.  Please scroll down for two A Day For Daisies posts)
     Okay kiddies, I definitely stepped out of my box for this one.  Lots of bright colors and my first stab at the dot technique.  It's Sassy Cheryl's 100th challenge and I wanted to play along with their celebration challenge so I broke out my Sassy Sally and drew from all the wonderful colors in the My Mind's Eye paper I used.  I don't think I quite did the dot technique right, but it could have been worse.  :-)
     It's been quite a while since I've done any handmade flowers so it was fun to break out all those punches again and create the little flower cluster in the corner.  They all started from white cardstock and then I used the Copics I'd colored the image with to make the flowers and leaves to match.  There's some Stickles on them for the "shimmery" part of the challenge.
     For the sentiment I printed it out on my computer, cut the letters apart and distressed the edges, glued those to the pink cardstock, and ditressed those edges too.  It was fun just to play with all my tools and stuff for a just for fun card.  Hope you like it.  :-)
     Oh, by the way, my apologies to all of you who actually recognized the old song from my Wednesday post and then had it stuck in your heads all day.  LOL
     I'd like to enter this card into the following challenges:

Sassy Cheryl's--use a punch and something shimmery
Craft Us Crazy--anything goes
Do You Stack Up --anything goes
Dutch Dare--photo inspiration
Whimsy Stamps Inspirations--make your own flowers
Hooked on Craft--something bright
Kaboodles Doodles--it's all about girls
Make It Monday--anything goes
Mema's Crafts--anything goes

     Be blessed!


Supplies
  • Papers:  My Mind's Eye Stella and Rose Gertie, DCWV, Georgia Pacific, Copic XPress-it Blending card
  • Stamp:  Sassy Cheryl's "Sassy Sally and her oversized birthday cake"
  • Ink:  Copics, Worn Lipstick Distress ink
  • Tools:  Martha Stewart Doily Lace edge punch, Frond and Branch punches, and Hydrangea and Cosmo punches, EK Success Daisy punches
  • Miscellaneous:  Crystal and Diamond Stickles, Michaels button, Kraft Outlet Hang Tag string, Recollections, Michaels, and Paper Studio pearls, Offray ribbon

Wednesday, January 11, 2012

Love that lacing!

     I have a Kraft Journal tutorial for you today that's easy peasy.  I love the look of laced panels on cards and scrapbook pages and have used that technique several times in the past.  Recently I read a post on one of the scrapper blogs I subscribed to called Gerrys Scrappy Life (the link will take you straight to her tutorial).  In the past I used an eyelet setter and eyelets to create the holes for the lacing, but she showed how to do it with edge punches.  They're a lot easier on the hands and more even than the hand done way.
     All you need is an edge punch that will work for the lacing and some designer paper or cardstock.  I've used some Brown Kraft and Buff Ivory cardstocks so you can see the details easily.  I can't really give you any measurements because it will depend upon the size of your project and the width you decide you want between the panel edges.


     For this card I cut a panel of the Brown kraft 5.5" x 11" and punched one short edge.  I trimmed it off at about 1.25" so I'd have some play room.  It was trimmed smaller later.  Taking the larger leftover pieces of Brown kraft I repeated the punched edge.  After that it's just a matter of figuring how much to trim off your pieces.


     You will get different looks depending upon what type of edge punch you use.  I was going to use the same one Gerry used in her tutorial but broke the punch.  grrrrrrrrr


     Anyway, here's what the finished card looks like with the panels laced with some Earthy hemp cord and a Scalloped Grungy Prim tag sentiment.


     Hope you'll give it a try.  It's really simple and gives a great decorative element to your project.
     I'd like to enter this card into the following challenges:

Crafty Cardmakers--no floral embellishments
Heart Song Inspirations--border punches or torn paper
Hooked on Craft--try something new
Karen's Doodles--Valentine's/love
Make It Monday--anything goes
Mygrafico--love and valentines
Paper Creations Ink--die cuts and/or punches

     Be blessed!


Other Supplies

"I Love You This Much" from Sassy Cheryl's Stamps, Copic XPress-it Blending card, Copics
Fiskars edge punch, Recollections pearls, Marvy white gel pen, Micron Sepia pen