
This weeks challenge is to use flourishes. I'm not sure what it is about adding that little swirly shape to a project, but it sure makes a difference. For my tutorial I'm going to show you a couple of ways you can use these little gems on your projects. You may have seen these before, but if you're like me it never hurts to have a refresher course. I won't own up yet that my memory is failing, but I do have to admit that there's so much stuff rattling around in my brain that I can't keep track of everything. My husband says the problem is that I'm preoccupied. Can't imagine why he'd think that. :)
First off we're going to use some Kraft Outlet cardstock and a few supplies. I'm using the #202 Lunchbag Kraft cardstock. You'll need some flourish stamps, ink, scissors, whatever papercutting tools you use, a corner rounder, and gel and ink pens.


Cut your cardstock square or rectangle out. The length will depend on your project and how large you want your journaling square to be.

Stamp your flourish image.

Use your scissors to cut a small outline border around the outside edge of your stamped image. You can use a corner rounder or decorative corner punch on the other two corners if you want to.

Use a ruler to add lines to your journal spot.

Below you'll see the finished products. I used brown and black ink pens and a white gel pen to do some faux stitching and doodling. I threw in the flag image (you can find this on #398 Between Prim Friends Vol. 1 graphics CD at the Kraft Outlet store) just to show you that you don't have to use a flourish on this technique. There are several different kraft papers in the store here and they would all work very well for this little extra.

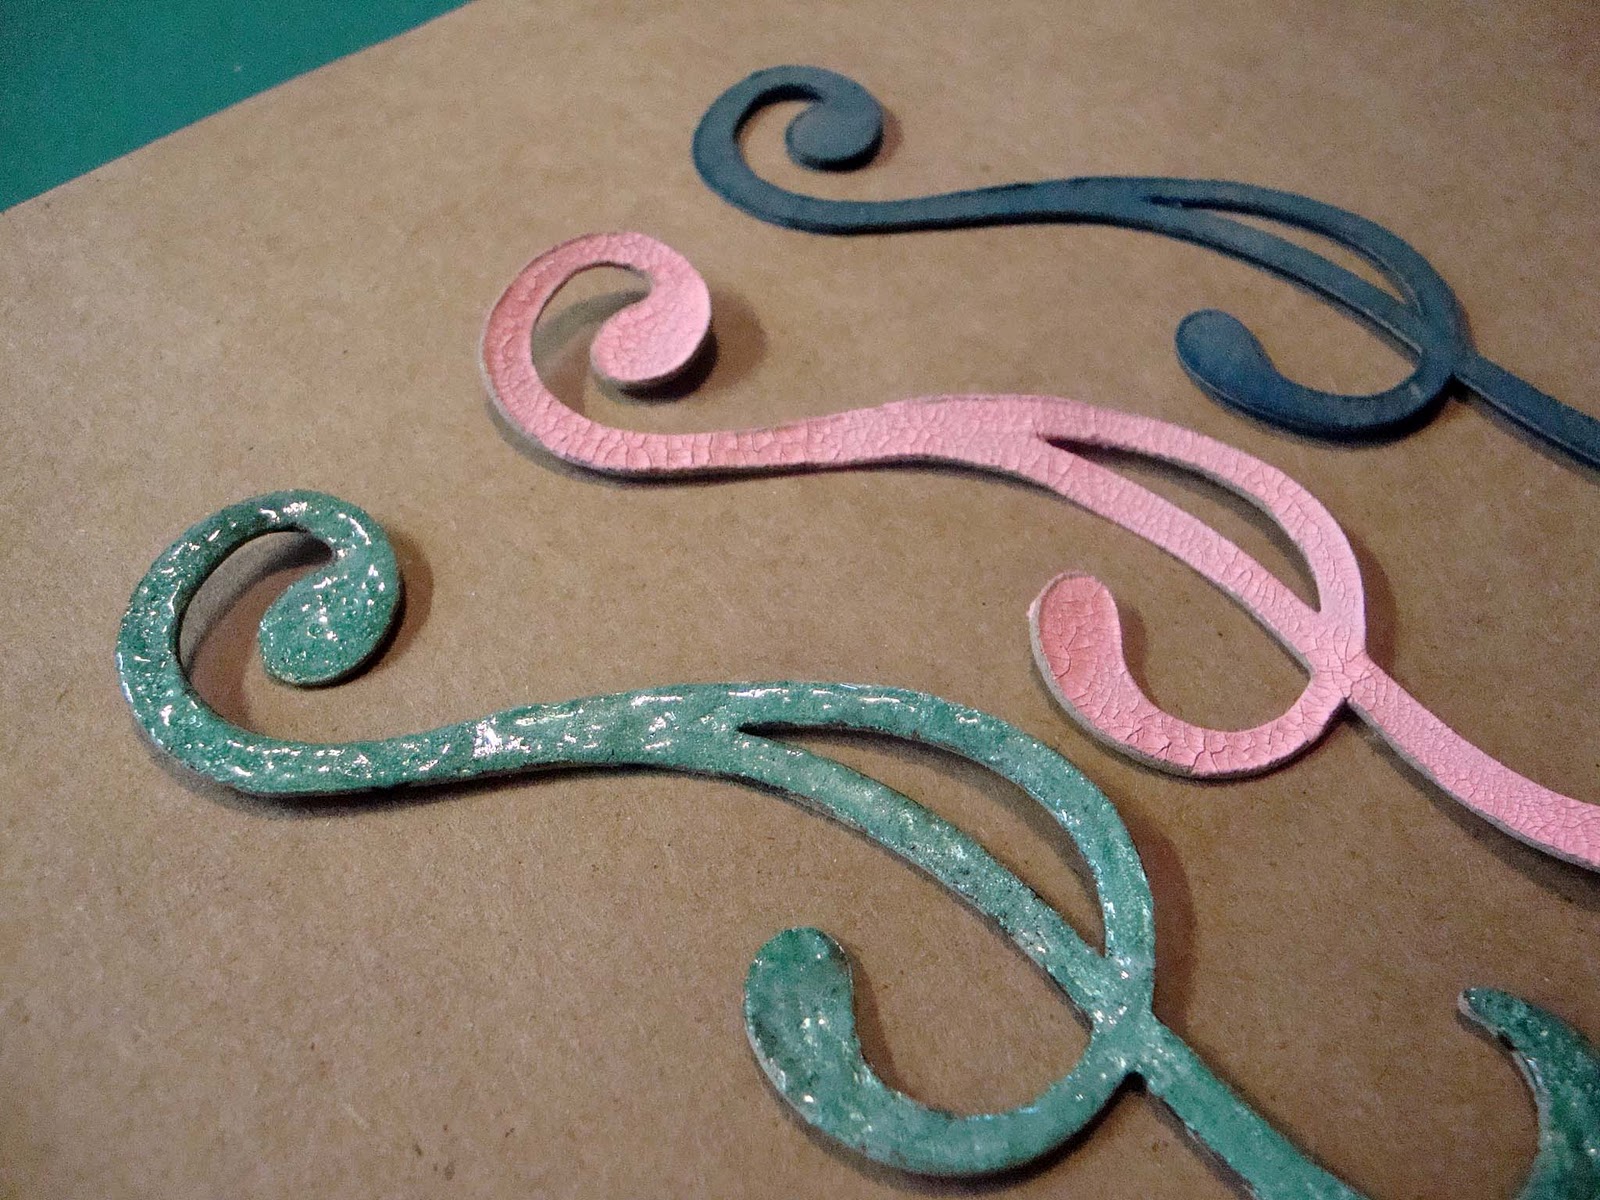
Besides the cardstock, Kraft Outlet also carries chipboard. The chipboard is a nice light weight, perfect for cutting in the Cricut or Cuttlebug. Nestabilities dies work great with it too. In keeping with our flourish theme, I cut a few chipboard swirlies with my Cricut and used several finishes on them.


Let this dry over night and then hit it with your heat gun. You'll get this really cool bubbled effect. The second one is covered with Distress Crackle paint and the third is just inked with Distress ink.
We hope you decide to join us for this inaugural challenge. All you need to do is use a flourish on your project somewhere and of course some kraft paper or a Kraft Outlet product. Easy peasy! We don't require you to use Kraft Outlet kraft paper, but we think you'll love the quality of it if you give it a try.
Happy crafting!

11 comments:
Love what you did here.. Looks like somthing I might want to try.. Hope you have a great day!
Hugs, Linda
I love those journaling spots Tracy, great photo tutorial!!
Love how your journals turned out Tracy! They look so cool! Great tut by the way, isn't it just wonderful to experiment on different materials? And swirls always make a project very elegant somehow don't you think? Have a great day, Ira x
This is another EXCELLENT tutorial from you Tracy! Thanks so much for all the hardwork and effort you put into inspiring other crafters... amazing work!
Great idea for making journaling cards, Tracy! Love them!!
Ok, I am SOOOO going to try this. You always do the best tutorials EVER.
Super cute ideas, Tracy! Now I want to go digging through my stash to see what fun flourishes I have to play with. I've got to have some stamps somewhere in that mess! :)
Lovely journal ling blocks. So pretty and thanks for the great tutorial!
OOO! Thank you for the great ideas!
i like the information! thanks ! ))) good job!
What a fun tutorial! TFS, Regan
Post a Comment