Showing posts with label The Kraft Journal. Show all posts

Monday, October 29, 2012

Hi Nut!

     This is my second sad post.  If you remember last week I mentioned I was leaving a second team besides ADFD.  I've been with The Kraft Journal challenge since it first started and it has been such a wonderful experience.  Our DT Coordinator, Beth Moore, is a dream to work with and I've met so many great designers as the roster changed.  Babette Switzer's wonderful products have been so much fun to work with and her kraft cardstocks can be found on almost every card I make.  I will really miss designing for this team.    Here's sending a huge thank you to Beth and Babette!
     So here are the deets for my final posting for TKJ.  I started with a base of Brown Kraft Cover Weight cardstock matted with Buff Ivory Cover Weight cardstock and designer papers.  The sketch I used was this week's Flutterby Wednesday.  You need to use a butterfly or fairy for their challenge so this little guy doesn't qualify even if he were a flying squirrel.  LOL  The image is from Whimsy and Stars Studio and is colored with Copics.  I wrapped the panels with 7 Gypsies Gypsy Market Seam Binding and added a tag with a handwritten sentiment and a little acorn stamp from one of my There She Goes Clear Stamp sets.
     I hope you'll continue to drop by TKJ and play along with the challenges.
     I'd like to enter this card into the following challenges:

Celebrate the Occasion--fall
Kaboodle Doodles--fall themed items
Ribbon Girls--October color challenge
2 Sisters--Halloween or fall colors
My Sheri Crafts--fall
Wags 'n Whiskers--fall colors

     Have a fantastic Monday and to those of you in the path of Sandy--STAY SAFE!

Other Supplies

  • Paper:  Simple Stories "Awesome", Bazzill, Copic XPress-it Blending card
  • Stamp:  Whimsy and Stars Studio "Acorn Squirrel, There She Goes "Pumpkins on the Vine"
  • Ink:  Copics
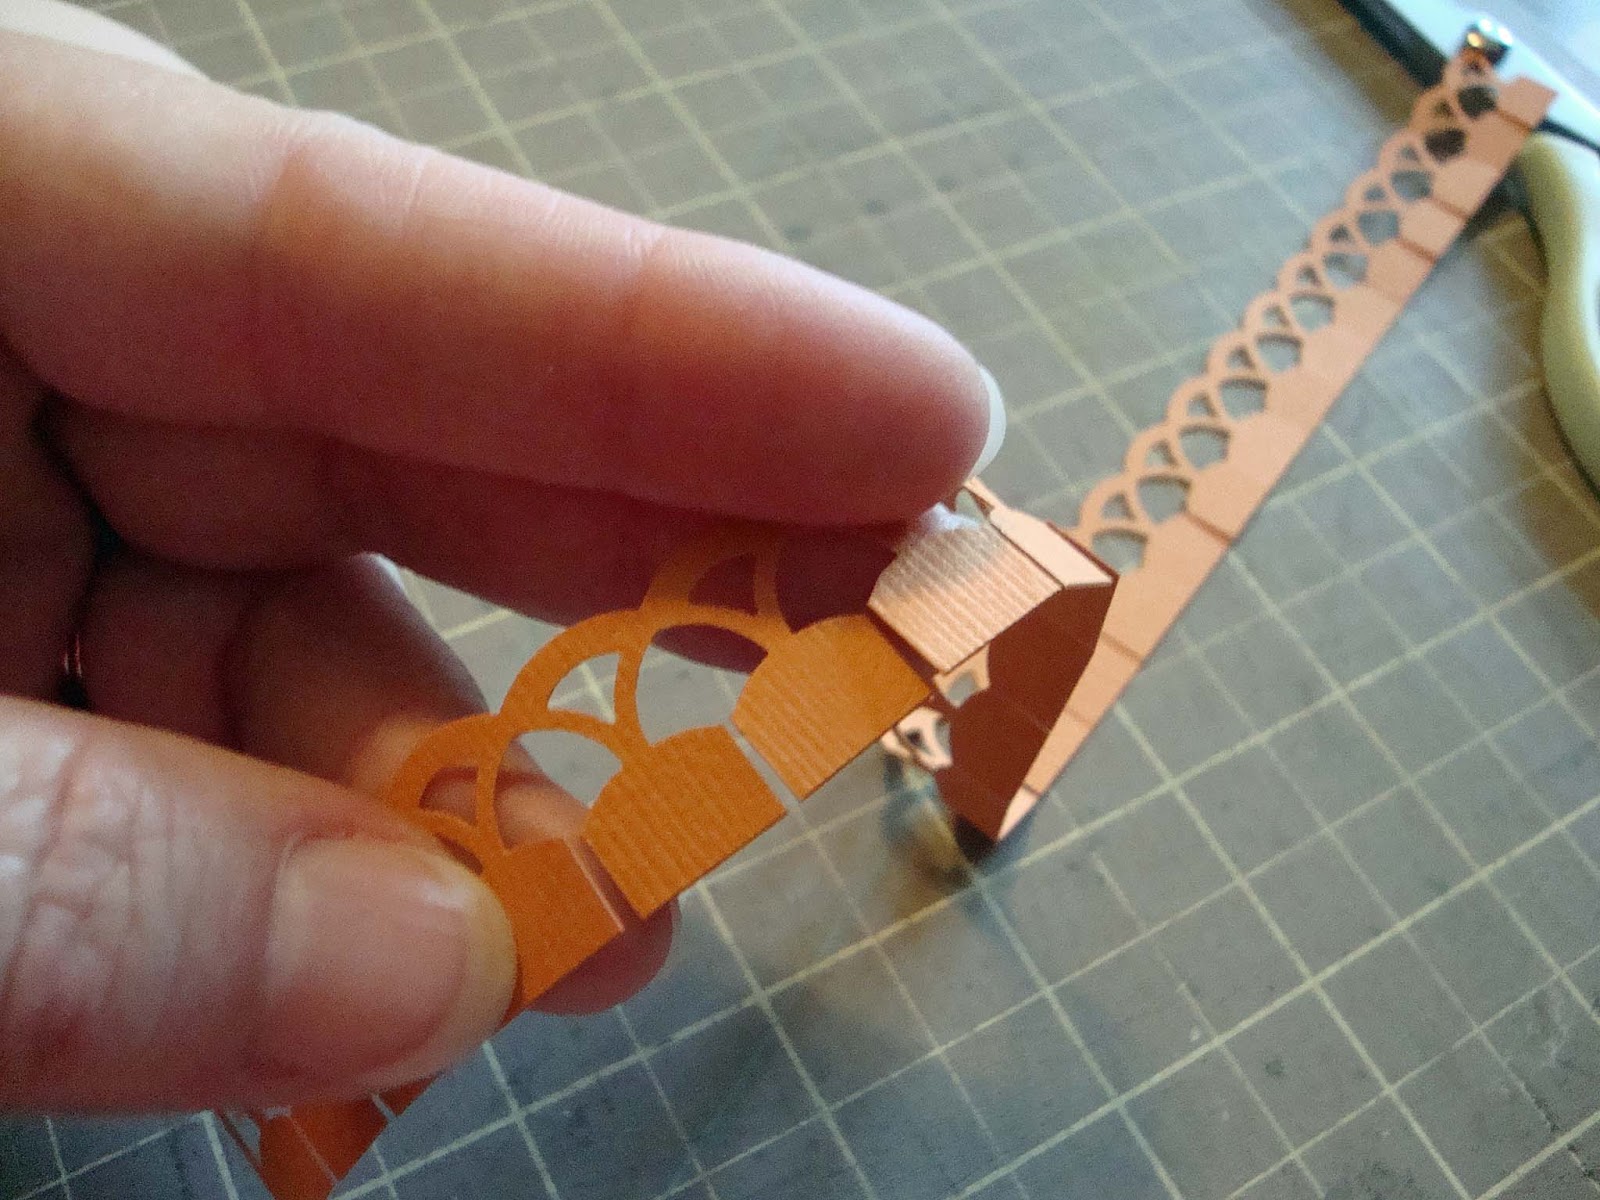
  • Tools:  Nestabilities Standard Circles and Lacey Circles, MFT Die-namics Scalloped die, Cuttlebug Tiny Tags
  • Miscellaneous:  Michael's rhinestones

Wednesday, October 24, 2012

Border punch tutorial for The Kraft Journal

I have a tutorial for you today from The Kraft Journal.  You may already know how to do this handy little trick but I thought I'd share just in case.  I'm going to show you how to make a decorative border for a circle or oval using Martha Stewart straight edge border dies.
In the first photo you can see my uncolored images, a orange circle border (which I later changed to green) and a 6" circle of chipboard covered with Brown Kraft Cover Weight cardstock.  You can also see my decorative border strip cut from a piece of 12" x 12" Bazzill.
 I used my craft scissors to snip between the sections of the border strip.
I cut a second 6" circle of chipboard and laid down a border of Copic double sided tape.  I then began to adhere the sections one at a time around the edge of the chipboard circle.
Here's the completed circle.  It took almost two full sections and you'll probably find that your ends don't match up perfectly. Just hide that with some embellies.
Here's the finished project you may have seen on my blog last week.  Happy crafting!

Monday, October 15, 2012

Bon Appetit!

     If I could I would share a piece of this pie with all of you.  Doesn't it look yummy!  This cute little chef and his scrumptious pie are from the Bon Appetit set created by Torico for There She Goes Clear Stamps.  Our challenge this week at The Kraft Journal is to "Ink It Up" so that's just what I did.  he's stamped in Memento Tuxedo Black ink and colored with Copic markers.  Lot and lots and LOTS of layers on this card.  LOL  I used Light Kraft cardstock for matting.
     We'd love to have you find something in your stash to ink up and play along with our new challenge.  Make sure you use kraft paper or a product from Kraft Outlet to be eligible.
     I'd like to enter this card into the following challenges:

Make It Monday--anything goes
Eclectic Ellapu--anything goes
2 Sisters--anything goes
Deconstructed Sketch--sketch
Divas by Design--anything goes
Crafty Sentiments--anything goes

     Happy Monday!

Other Supplies

  • Paper:  My Mind's Eye "Nostalgia", Recollections, Copic XPress-it Blending card
  • Stamps:  There She Goes Clear Stamps "Bon Appetit"
  • Ink:  Memento Tuxedo Black, Copics
  • Tools:  Nestabilities Standard Circles and Classic Scalloped Circles, MFT Die-namics Fishtail Banners, Memory Box Classic Scallop, sewing machine
  • Miscellaneous:  Michael's buttons, waxed linen thread

Monday, October 1, 2012

Quick and easy

     So.....did I shock you with the new look?  LOL  I thought I'd try for a simpler less cluttered look to my blog.  It's going to take a while for me to get used to all the white, but I'm going to give it a try anyway.
      When I asked Beth what exactly she was looking for with this week's "Quick as a bunny" challenge at The Kraft Journal she said something made quickly or something with a bunny.  You got both here.  LOL  This was a super quick tag using a freebie I got a LONG time ago that's just been waiting in my miscellaneous digi image folder for me to use it.  The image is printed on a Large Kraft Shipping Tag and colored with Prismas.  I added a white gel pen faux stitched border and a tag pull of Natural Twill Tape tied with Hang Tag String.
     I know this is super simple but considering that My mojo has taken a hike the challenge theme couldn't have come at a better time.  :-)
     So there you have it.  Make something quick or make something with a bunny and link it up at The Kraft Journal for your chance at a Top 3 spot and this months drawing for a $15.00 store voucher from Kraft Outlet.
     Happy Monday!

Wednesday, September 26, 2012

Gorjuss bear hugs

     For this weeks tutorial from The Kraft Journal,  I'm going to share a short tutorial on a project using the Cotton Bags found at Kraft Outlet.  Recently one of my bloggie buddies, Heidy Blom of Heidy's Scrappies, created an adorable little muslin bag here, and I was itching to give it a try.
     I used Memento Tuxedo Black ink to stamp my image.  You really need a pretty juicy stamp pad and make sure your image is inked really well.  Try not to pick something really intricate or you'll lose the definition in the fabric fibers.  Also make sure you stamp onto a nice flat surface so you can get a good impression.
     Here's what the impression looks like.  It won't come out overly dark cause the fabric soaks up the ink, but it gives a really nice softened line effect once you've colored.
     You don't have to press hard with your markers.  I've used Copics here.  I wasn't sure if they would bleed through or not so I stuck a folded post it note inside the bag but it wasn't necessary.  No bleed through.
     Here's a pic of the image completed
     I added some fun wintery ribbon to the top of the bag to finish it off.  With the variety of images available in stamping you can customize this bag for ANY occasion.
     Happy crafting!

Monday, September 17, 2012

Every dog has its day

     Don't cha just want to squeeze him!  I think he'll be waiting around for my uncles next birthday.  hee hee  This cute little guy is from There She Goes Clear Stamps.  I've used him to create my "Lavishly Layered" card for this week's challenge at The Kraft Journal.
     I started my card with a base of Light Kraft Cover Weight cardstock.  I used Buff Ivory Cover Weight cardstock and some Mud Pie Bazzill to mat the designer paper panels.  The DP is actually from a digital paper pack.  I don't print off my own papers very often, but I loved the fun colors.  It's from Shery K Designs.  I did some hand stitching around the orange panel with DMC embroidery thread.  The pup is colored with Copics and I added a button tied with Hang Tag String to the sentiment tag.
     We want to see your layered creations for this weeks challenge.  Remember you must use kraft paper or products from Kraft Outlet to be eligible.
     I'd like to enter my card into the following challenges:

Make It Monday--anything goes
Tammy's Scrappin' Corner--anything goes
Corrosive--animal companions
Pile it On--stitching
The Crafty Pad--brown, orange, red, yellow, green--use at least two)
ATC's and Cards with Attitude--anything goes with buttons and bows
Craft Punked--pets
Aud Sentiments--anything with a funny sentiment
My Mum's Craft Shop--buttons

     Happy Monday!


Other Supplies

  • Paper:  Shery K Designs, Bazzill, Copic XPress-it Blending card
  • Stamps:  There She Goes Clear Stamps "Puppy Love"
  • Ink:  Copics
  • Tools:  Nestabilities Standard Circles and Lacey Circles, MFT Die-namics Crown Border
  • Miscellaneous:  DMC embroidery thread, Celebrate it ribbon, button from my stash

Monday, September 10, 2012

Pick a peck

     "Autumn Colors" is our theme this week at The Kraft Journal.  For my card I've chosen to use a couple of freebie digital images from Birdie Brown aka Torico.  I am so blessed to be able to work with Torico's amazing clear stamps for There She Goes and her digis are just as cute.
     I've used a base of Brown Kraft Cover Weight cardstock and layered it with panels of Buff Ivory Cover Weight cardstock and fall colored designer papers.  My image was colored with Copics and white gel pen highlights on the apples.  It's mounted on a Nestie die cut that I cut from both chipboard and Brown Kraft.  Two corner pieces of E-Flute Corrugated Kraft paper and some Natural Twill Tape were used to embellish and the sentiment was printed out and cut from more Brown Kraft.
  We'd love to have you come join in the challenge for your chance at a Top 3 Spot, Friday Feature spot, and a $15.00 monthly gift voucher from Kraft Outlet.
     From the comments Saturday it seems I once again managed to get a song stuck in many of your heads.  LOL  Sorry about that.  I'll cut you a break today and not use any song titles or lyrics.  :-)  (I didn't say anything about tongue twisters  hee hee)
     I'd like to enter this card into the following challenges:

Make It Monday--anything goes
Allsorts--layers
Divas By Design--friendship
Fab 'n' Funky--autumn colors
Birdie Brown's September Freebie Challenge--use the freebies

     Happy Monday!


Supplies
  • Paper:  The Paper Studio, Making Memories, Copic XPress-it Blending card
  • Stamp:  Birdie Brown, Annabelle Stamps sentiment
  • Ink:  Copics, Sakura white gel pen, Memento Tuxedo Black
  • Tools:  Nestabilities Standard Circles and Lacey Circles

Monday, September 3, 2012

Busy Bee

     Boy I sure hope you guys aren't going to get sick of me this week.  I have something to post today through Saturday and some days have TWO posts!  See the sentiment on the card above.  Uh huh!!!     
     It's time for a new challenge at The Kraft Journal and this time we want to see your "Shape it up" projects.  Hexagons are all the rage right now and I decided to use them on this card.  I don't have a die or punch for the shape but you don't have to have one.  I was able to download a free hexagon pattern right here and use it to create the sizes I needed.  There's a bit of an advantage to doing it that way when you want different sizes.
     So, I started my card by cutting a base using the pattern out of black cardstock.  I then matted it with Buff Ivory Cover Weight cardstock and Kraft and Black Cardstock Pad paper and added some machine stitching.  Next I wrapped the panel with canvas fringe ribbon and some Black Baker's Twine.  The center panels were cut from designer paper and then matted with Light Kraft Cover Weight cardstock and black.  I tied more of the Baker's Twine around one and used a brad to attach a Scalloped Grungy Prim Tag with the fun Create with TLC sentiment printed on it.  A few more brads and that wonderful A Day For Daisies Vintage Bee image you saw me use a few weeks back finish of this bee-utiful card.  :-)
     Let us see your "Shape It Up" projects by linking up your entry for the challenge.
     I'd like to enter this card into the following challenges:

Tammy's Scrapin' Corner--anything with wings
The Crazy Challenge--seeing spots
Make It Monday--anything goes
Joanna Sheen--going dotty
The Crafty Pad--anything but a square
Allsorts--anything but a square
Catch the Bug--anything goes
Crafty Catz--3 embellishments, 2 papers, 1 image
Poodles Parlour--winged things
C.R.A.F.T.--shaped card
Crafting for All Seasons--stitching real or faux
The Perfect Sentiment--anything goes plus sentiment
Paper and Such--wings and things
Ladybug Crafts--anything goes
Natalie and Amy's--anything goes
Unique Crafters--anythings goes

     Have a happy Monday!

Other Supplies
  • Paper:  Recollections, Copic XPress-it Blending card
  • Stamp:  A Day For Daisies "Vintage Bee", sentiment from Create with TLC
  • Ink:  Copics, Vintage Photo Distress ink
  • Tools:  Drop-a-dile, sewing machine, Nestabilities Lacey Circles, Marvy Uchida Circle punch
  • Miscellaneous:  Spare parts brads, Crystal Stickles, Glossy Acccents

Monday, August 13, 2012

Birds of a Feather


     It's Monday, Monday and it's time for a new challenge at The Kraft Journal.  Our challenge is "Tag It" so I've included one on the front of my card.
     The card base is Brown Kraft Cover Weight cardstock.  I added some DP and a punched edge of Buff Ivory Cover Weight cardstock.  The tag has a pull of Natural Twill Tape that I stapled on.
    The image is a cutie from Birdie Brown that I've colored with Copics.
     Hope you'll join us for our tag challenge this week.  You just might be one of our top three picks, Featured Friday artist or monthly $15.00 voucher winner.
     I found a few challenges I'd like to enter this card into:

Sentimental Sundays--clean and simple
Sweet Stampin'--things with wings
Digi Doodle--things with wings

     Happy Monday!

Other Supplies
  • Paper:  My Mind's Eye "Quite Contrary"
  • Stamp:  Birdie Brown "Dreamin'"
  • Ink:  Copics
  • Tools:  EK Success Dotted Scallop punch, sewing machine, Tim Holtz Tiny Attacher

Monday, August 6, 2012

Cinderella's ex-employees?


     I LOVE these mice!  These guys are the creations of Jodie Mackrell of Bugaboo Stamps.  There's a couple more of them, but I just used the three for this card.  Our wonderful Dorcas has left the Kraft Journal team for a little recharge time and she will definitely be missed.  I think that girl was born with a colored pencil in one hand and a piece of kraft paper in the other.  LOL  She got me started coloring with pencils on kraft and I've learned so much from her.  It was really fun to color these little meeces.  I didn't use OMS, just letting the pencils blend themselves.
     Our challenge theme this week is "Needle and Thread".  I used black cardstock as a base and then used some Lunch Bag Kraft cardstock to print out the mice on.  After I'd colored them I added a strip of polka dotted paper from a Kraft and Black Paper Pad, some faux stitching and washi tape, buttons tied with Hang Tag String, and ribbon and I got this.
     This is just a small glimpse of what my crafting area looks like.  Disaster!!!!   LOL  I just thought the card was a little too plain so I decided to make it larger by using the card front on my standard 5.5 x 5.5 card.  I think the added stripes also from the  Kraft and Black Paper Pad really kick it up a notch.
     Hope you can play along this week!  That $15.00 voucher we give away each month could come in very handy.  :-)
     I'd like to enter the meeces into the following challenges:

The Cutie Pie Challenge--spots and stripes
Make It Monday--anything goes
Great Impressions--animals
The Ribbon Girl--BINGO (image, buttons, twine)
Catch the Bug--anything goes

     Have a great Monday!


Kraft Outlet Supplies

Kraft and Black Paper Pad
Lunch Bag Kraft cardstock
Hang Tag String

Supplies

Paper:  Recollections
Stamp:  Bugaboo Stamps "Sewing Mice"
Ink:  Prismacolor pencils, Micron pen
Miscellaneous:  ribbon from  Joann's, Michaels buttons, Chickydoddle Washi tape, K & Co. Smash Tape, Glossy Accents

Monday, July 30, 2012

B.F.F.

     This card goes out to all of you!  Especially those that hung in there with me this week when I couldn't get around to visiting you and leaving you some love.  I've just about caught up.  Have a few new followers and commenters to visit, but I'm about to get back into my comfortable groove. Hope I didn't just jinx myself.  LOL
     Last week was definitely a trial by fire for hubby and I.  It started with the computer virus and then a chain reaction of happenings that were nothing but the devil trying to discourage us so we couldn't be a blessing at Bible school.  My car radiator got a huge crack in it and left me stranded at the Post Office waiting for my parents to rescue me.  Hubby had a little fight with his lawn mower that slid into the ditch while he was mowing the grass at church.  The lawn mower made it out alright but he dinged his truck up pretty good with the trailer he hauls it on.  Seems like a couple of other things happened too, but to be honest, we blew it all off and laughed about it because we were determined not to let him get the best of us.  VBS turned out great and we survived all our mishaps.  That's all that counts.  :-)
     The paper pad and stamped image I've used were both part of my birthday goodies.  I'm really hung up on blue and yellow lately so this Prima pad is perfect!  Our challenge this week at The Kraft Journal is to "Use any sketch".  I found this one from Sweet Sunday Sketch Challenge for last week.
     I started the card with a base of Light Kraft  Cover Weight cardstock and used more of it plus Buff Ivory Cover Weight cardstock to mat the panels.
     The image is colored with Copics and their boas are jazzed up with some Stickles.  Since I didn't want to cover up their legs with my ribbon, I added some eyelets and threaded the ribbon behind the image panel.  For the flower I added a layer of Glossy Accents in the center and sprinkld on some Doodlebug glitter in a coppery brown color.  Then I used a couple of drops of Copic refill to color some plain glass beads to create the sunflower effect.
     There are tons of sketch challenges out there so find one you like(Feline Playful is a great source), break out your kraft paper or Kraft Outlet supplies and come join in our challenge.
     I'd like to enter this card into the following challenges:

Make It Monday--anything goes
Amusing Challenges--anything goes
Fashionable Stamping Challenge--anything goes
Let's Ink It Up--all girl
Cupcake Inspirations--photo inspiration
CMC Copic Challenge--anything goes with a girly twist
One Stop Craft--just good friends
Card Makin Mamas--1 image, 2 DP's, 3 embellies
Crafty Catz--all that glitters
Poodles Parlour--anything goes
C.R.A.F.T.--use stitching
DYSU--for a friend
Crafts and Me--anything goes

     Happy Monday!


Kraft Outlet Supplies


Light Kraft  Cover Weight cardstock
Buff Ivory Cover Weight cardstock


Other Supplies


Paper:  Prima "Sun Kiss", Copic XPress-it Blending card
Stamp:  Stamping Bella "Pattie and Dottie Friends Forever"
Ink:  Copics
Tools:  Marvy Uchida butterfly punch, Stampin' Up Ticket Corner punch, EK Success Dotted Scallop punch, Making Memories Instant Setter, Nestabilities Labels One
Miscellaneous:  Candlelight Glimmer Mist, Snug Hug seam binding, Making Memories eyelet, glass microbeads, Doodlebug glitter, Recollections flower, Glossy Accents, Stardust Stickles

Wednesday, July 25, 2012

A Kraft Journal Tutorial

    ( I thought I would be able to work in the time to visit and comment on the posts of my bloggie friends and visitors but it's just not working out that way.  I am visiting everyone, but I just can't comment this week.  VBS has me hoppin' and TIRED!  LOL  I promise things will get back to normal next week when I can breathe again.  Don't give up on me!    I'll need all the friendly ADULT contact I can get after Friday.  LOL)

 It's time for me to share another tutorial with you for The Kraft Journal.  This time I'm going to show you a use for some of your scraps and a couple of tips.
     For my project I'm using a strip of 3" x 11" Brown Kraft Cover Weight cardstock.  The majority of my cards are 5 1/2" x 5 1/2" so after trimming an 8 1/2" x 11" sheet of paper I have lots of these little skinny leftovers.  Besides the Brown Kraft, I'm also going to use a scrap of chipboard, Baker's Twine, some dies, and a few standard card making supplies.
     Using the larger of the circle dies I cut out a circle of chipboard and covered it with Copic double sided tape.
     After peeling off the tape covering I carefully covered a little over 3/4 of the circle with the Baker's Twine in a wrapped circle.
     I didn't cover the entire circle because of the particular flower die I used.  I trimmed mine down to fit but you may not need to do that if you have a larger flower or if you choose to place you circle on top of the flower dies.  I cut two flowers from Tim Holtz's Tattered Florals die and then used the smallest circle Nestie to cut out the centers.  If you place your circle on top you won't need to do this.  I also used an embossing tool to shape the petals.
      I folded the skinny strip of Brown Kraft in half and used a white gel pen to do some faux stitching.  I also glued the Baker's Twin circle down to the card and then layered the two flower dies on top.
     Take notice of the small notches I cut out on both sides of the card.  These notches will help your Baker's Twine stay where you want it when wrapping around your cards.
      I finished the simple little card with a hand drawn stem, some Memory Box leaves, and a stamped sentiment.
     Don't let those scrappies go to waste!  :-)
     Be blessed!

Monday, July 16, 2012

Let's grow old together

     These two look pretty happy don't they.  Something to look forward to for my hubby and I.  :-)
     Our challenge this week at The Kraft Journal is "Weddings/Anniversaries".  I couldn't resist using these love birds and this card will be stashed away for our anniversary in December--#27!
     I started with a base of Light Kraft Cover Weight cardstock and matted it with Buff Ivory Cover Weight cardstock and designer paper.  There's lot's of layers and a Copic colored Mo's Digital Pencil image.  I added a little lace and some buttons tied with Hang Tag String.
     Hope to see your creations in our entries this week.  Don't forget to use kraft or a Kraft Outlet product.  That $15.00 voucher we give away to one lucky person each month can buy you some awesome goodies to play with.  :-)
     I'd like to enter this card into the following challenges:

Craft Your passion--kraft paper plus lace or ribbon
Love to Create--3 of something (3 buttons, 3 designer papers, 3 matted panels)
Make It Monday--anything goes
Addicted to Stamps--card for someone special
Pile It On--kick back and relax
Totally Papercrafts--lots of layers

     Happy Monday!


Supplies
  • Paper:  My Mind's Eye "Miss Caroline--Howdy Doody", Copic XPress-it Blending card
  • Stamp:  Mo's Digital Pencil "Tom and Tilly"
  • Ink:  Copics, Vintage Photo Distress ink
  • Tools:  Martha Stewart Photo Corner punch
  • Miscellaneous:  The Paper Studio buttons, lace from my stash

Monday, July 9, 2012

V.I.P.

     I sure hope this little guy makes you smile as much as he makes me.  I mean just look at all those chubs!  LOL
     Our challenge this week at The Kraft Journal is "Rock-a-bye Baby" and I created my card using a base of Brown Kraft Cover Weight cardstock that's matted with Buff Ivory Cover Weight cardstock and designer papers.  I added a corner piece over the image with E-Flute Corrugated Kraft paper painted with Crackle paint.  There are Natural Twill Tape tabs held on with brads that I lightly coated in gesso to tone down their color.  Then I covered them with some Stickles.  The DP panels are wrapped with Green Baker's Twine and  Canvas Fringe Ribbon.
     My image is from Mo's Digital Pencil and is called "Spit Happens".  I've used a sentiment from Create with TLC that just semed perfect for the expression on his face.  :-)
     Hope you'll join in our challenge.  Just make sure you use kraft paper or a product from Kraft Outlet to qualify.  You could be one of our weekly top picks or our monthly gift voucher winner.  Ya can't win it if you ain't in it!
     I'd like to enter this card into the following challenges:

Make It Monday--anything goes
Addicted to Stamps--for someone special
Corrosive--sentimentally yours
Quirky Crafts--make us laugh
Chocolate, Coffee, and Cards--anything goes
Fat Pages and Cards with Attitude--anything goes
Art Impressions--use a metal accent (brads)
Sassy Studio Designs--use something metal (brads)
Whimsy Stamps Inspiration--anything goes
Digital Tuesday--kids
Sassy Cheryl's--anything goes
Great Impressions--show us your best stay in the lines coloring

     Happy Monday!


Other Supplies


Paper:  My Mind's Eye "Follow Your Heart--Be Happy", Copic XPress-it Blending card
Stamp:  Mo's Digital Pencil "Spit Happens", sentiment from Create with TLC
Ink:  Copics, Vintage Photo Distress ink
Tools:  EK Success Scalloped Scallop edge die, Nestabilities Standard circles and Classic Scalloped Circles
Miscellaneous:  Picket Fence Crackle paint, Recollections brads, Diamond Stickles, gesso

Monday, July 2, 2012

True colors

     It's time for a new challenge at The Kraft Journal and this week we want to see your "red, white, and blue" projects.
  I've started my card with a base of Light Kraft Cover Weight cardstock.  Blue Bazzill and some patriotic papers create the background for my image.  There are a few other touches of the Light kraft sprinkled about the card.  The stars were double cut from chipboard, layered, gessoed, and covered with Crackle Paint.  After they dried I rubbed in some Weathered Wood Distress ink to help them match the paper.  I used some Dark Jewel Hemp cord to wrap each of the stars.  Across the center of the card I've tied some Natural Hemp cord.  The buttons are "stitched' with Hang Tag String.
     Hope to see your project in the link up.  :-)
     I'd like to enter this card into the following challenges:

Incy Wincy Designs--use only colors or items from your country (USA)
Love to Create--stars and stripes
Make It Monday--anything goes
Tammy's Scrapin' Corner--celebrations/Fourth of July
Corrosive--summertime girls
Joanna Sheen--summer daze
Sentimental Sundays--be patriotic
Cardmakin' Mamas--red, white, blue
Delicious Doodles--1, 2, 3 recipe (1 twine, 2 buttons, 3 stars)
Wags'n Whiskers--use kraft
Moving Along with the Times--Happy Birthday
Saturated Canary--red, white, blue
Inspired by Stamping--red, white, and blue
Crafting for All Seasons--patriotic/military/fireworks
Crafts and Me--birthdays
Simon Says Stamp--sporty and/or patriotic
Sisterhood of Crafters--stars
Crafty Sentiments--red, white, and blue
Top Tip Tuesday--Independence Day or stars and stripes


     Happy Monday!


Other Supplies
  • Paper:  patriotic scraps from my scrap box, Bazzill, Copic XPress-it Blending card
  • Stamp:  Saturated Canary "Ava"
  • Ink:  Copics, Weathered Wood Distress ink
  • Tools:  Sizzix Stars #2 die
  • Miscellaneous:  buttons from my stash, Picket Fence Crackle paint

Wednesday, June 27, 2012

Basket weave panel tutorial

     It's my turn again to do a tutorial for The Kraft Journal and as promised I'm going to show you how I made that basket weave panel for my Saturated Canary Dorothy card I posted last week.  I've used some Light Kraft Cover Weight cardstock and chipboad to create the panel.  You'll also need a ruler and  X-acto knife or some type of cutter and some distress ink.
      For the panel I made, I cut 1/4" strips from the cardstock.
     I also cut a panel of chipboard 1 1/2" wide by 5" long.  Using my glass cutting mat, I lined the strips up on the grid, adding strips for a total of 2" which I taped down with scotch tape.  This photo shows the first strip woven in already.
     Continue weaving in your strips until you have an extra one at each end totally 5 1/2".
     Try to butt the strips up against each other as closely as possible for a tight weave.
     You'll notice this phot looks different.  I had forgotten that I wanted to use some distress inks on the strips to get a multi-colored weave effect so I pulled the strips I'd already weaved out, inked them and started over.  You could do this with different colored cardstock pieces for a different look.
     Once I had the pieces weaved to the 5 1/2" length, I flipped the piece over (still taped down) and glued my chipboard piece to the back lining it up with the strips so that each side had one strip extra hanging off.
     Once the glue was dried I could remove the extra strips and trim the long ends down.
     I then added some double sided adhesive to the back side and began folding the strip ends over.
     Once everything was folded over and secured down the piece looked like this.
     Here's another look at the card I made with it.
     I wish more of the color variation was showing, but I'll know better next time.  Hope you'll give this a try.
     Happy crafting!