This week is my turn to offer a tutorial at
The Kraft Journal and I'd like to show you how to make your own chipboard embellishments using products from
Kraft Outlet. If you've checked out the chipboard section in the store, you'll see that Babette carries three different sized sheets of
chipboard. I've used the medium sheets to create a storage binder for my Nestabilities. You can find the tutorial for that right
here on The Kraft Journal blog. I also have some of the full size sheets, and that's what I'm using today along with some
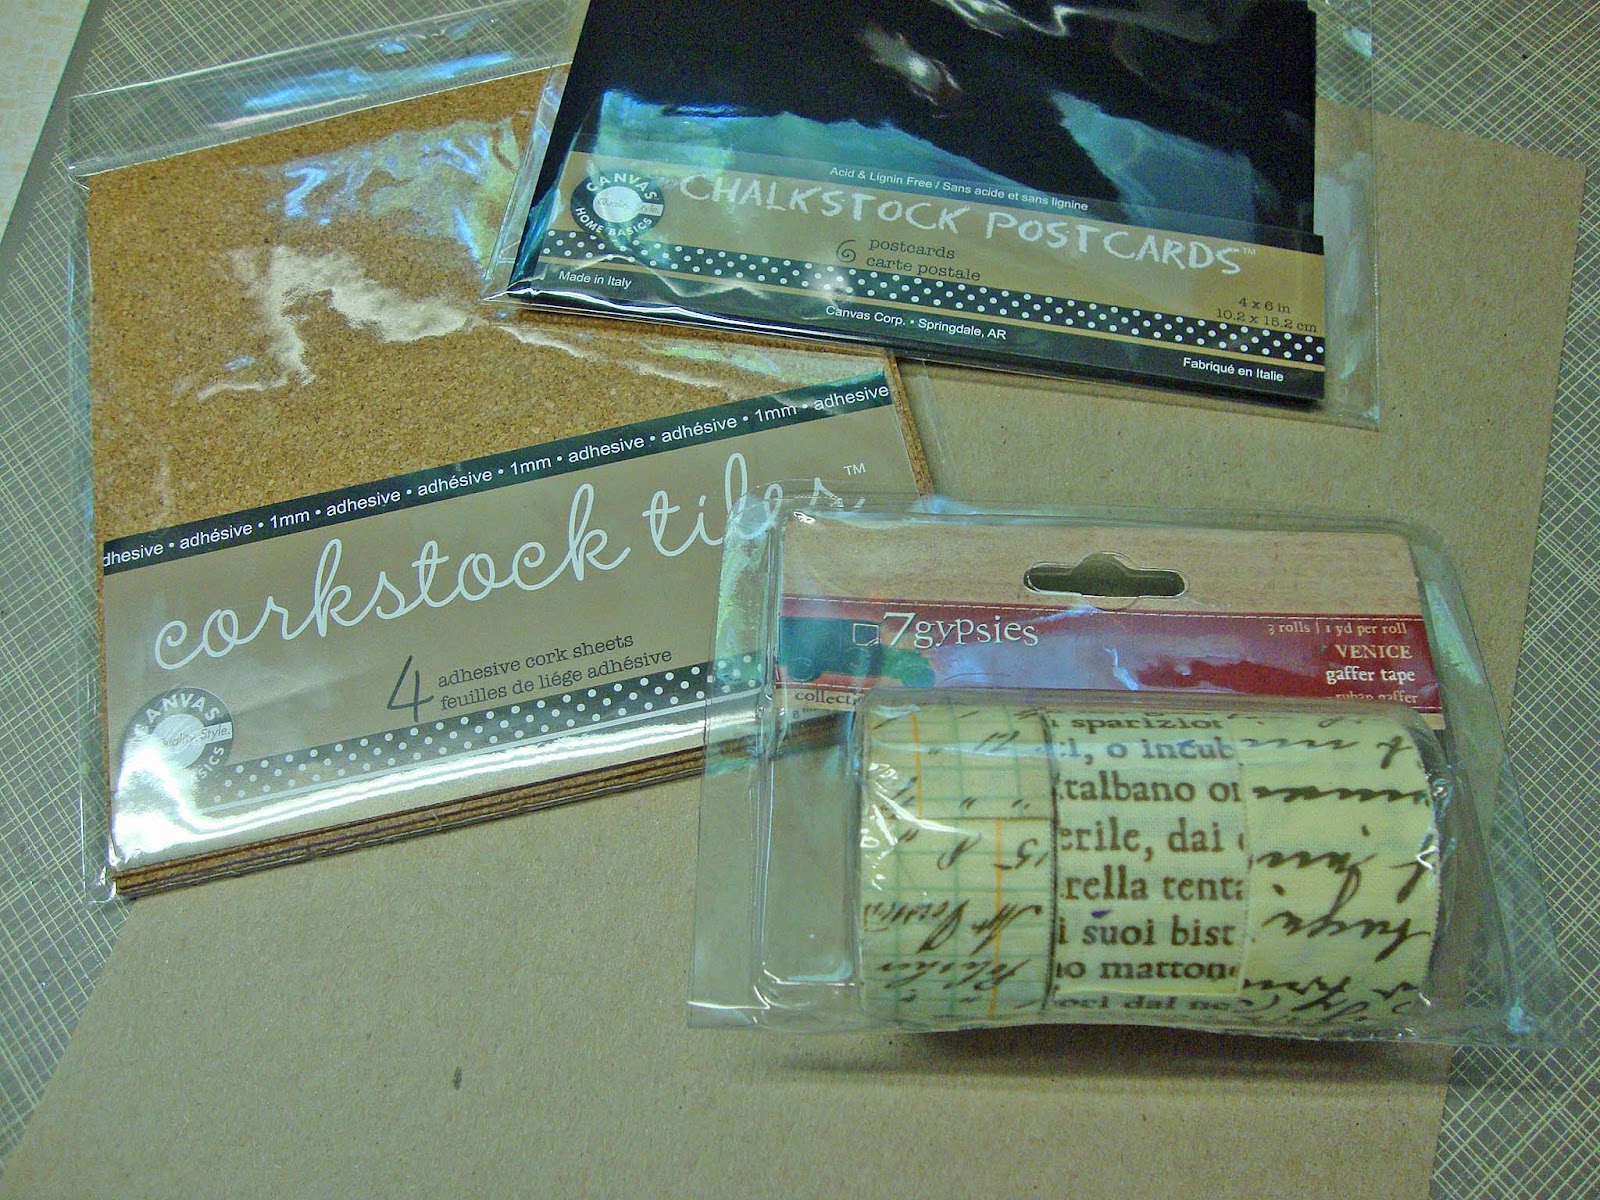
7 Gypsies Venice Gaffer Tape and two new products in the Kraft Outlet store,
Cork Sheets and
Chalk Board Stock Paper.
For the first embellishment I've used my quilting square to get an approximate measure of how large I need to cut my chipboard and the chalk board paper to cut one of the stars from this Sizzix die. After cutting the two pieces I glued them together and ran them through my Cuttlebug.
I did the same for the Cork Sheet except that is comes with a self stick adhesive backing, so no glue. I used a flower die for this one.
For the Gaffer Tape I chose a stamp die. Since it's tape all I had to do was stick it to the chipboard.
Here are the three embellishments. One layer of chipboard adds a nice weight to the embellishment. It you wanted it thicker you could add more layers. Just remember that the thickness will limit which dies you are able to use. Of course you could always cut each piece separately and then glue them together.
Hope you'll give this a try. It's super simple and the possibilities are endless!


8 comments:
Thanks for the tutorial =)
Oooh great ideas Tracy! I like the tape one...will have to try this! :D
Thanks for the great tutorial Tracy, what a fine teacher you are ;-) Hugs, Ira
Awesome!!! Thanks for the tutorial!
Very cool tutorial, great idea.
Love these! Fabulous embellies! Love that the Kraft Outlet now carries cork and chalkboard paper. How cool is that?
Great lesson, Tracy! Nice variety of textures! :o)
Thanks for the tutorial. I need all the help I can get. Hee Hee..
Hugs~
Post a Comment